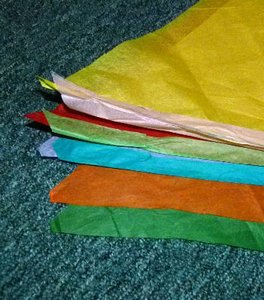
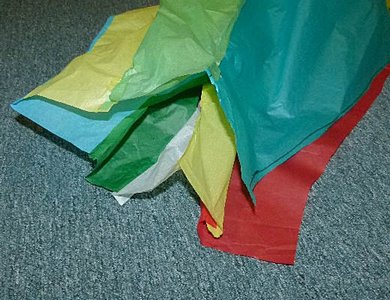
We started with rolls of tissue paper 24 inches wide for that one.
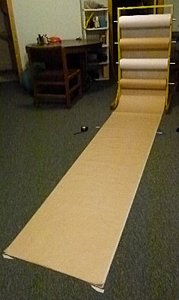
We cut off 8 pieces, each 6 feet long.

You can also glue 2 or 3 pieces of regular tissue paper together to make the 8 long pieces you will need.
These sheets were 20 by 26 inches but you can use whatever size you have available.
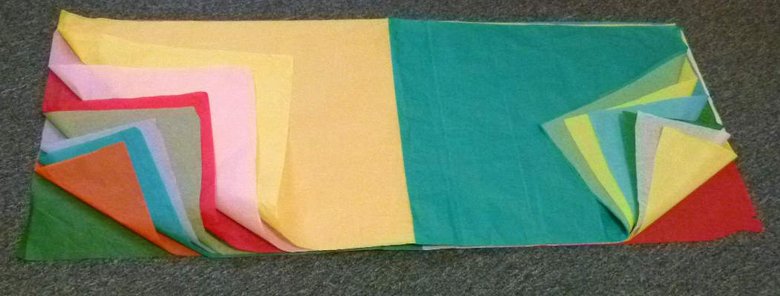
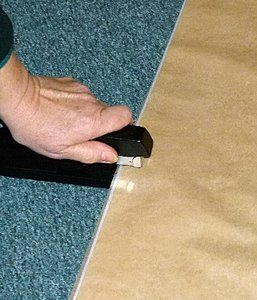
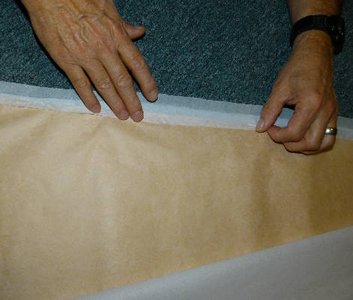
Whichever you use staple the 8 layers together 3 or 4 places along the long edges.
It will make the marking and cutting steps that follow a lot easier.
Look ahead at the following steps so you will know where to put the staples so they will be in the part that is cut away.
If one ends up in the wrong place just remove it after you cut out the gores (those are the shapes that you will use to make the balloon).
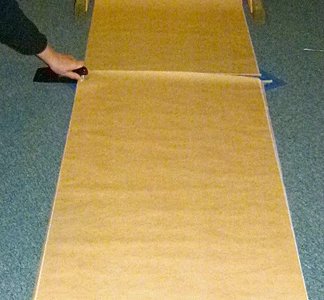
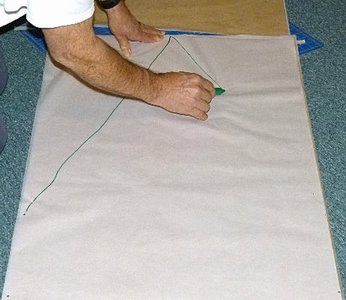
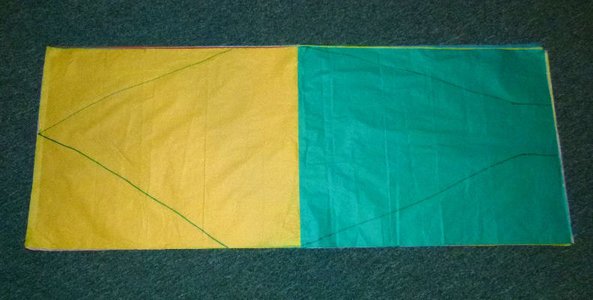
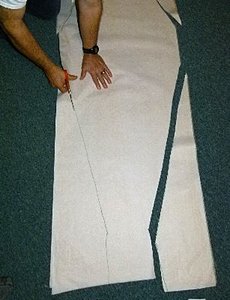
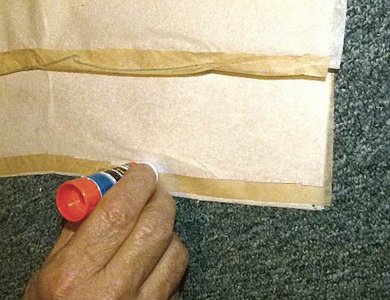
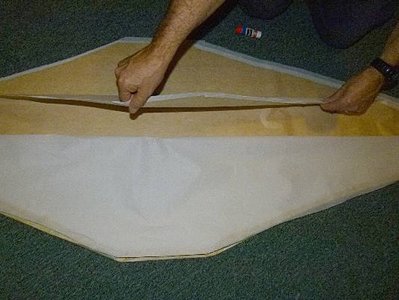
Mark the shape of the gores on the top of the stack of 8 tissue paper panels.
The exact dimensions depend on the width and length of the paper you are using, but aren't too important.
The point will be at the top of the balloon.
The long slanted parts will be glued together and will form the sides of the balloon envelope (the technical name for the outside of the balloon).
The lines from the top point should go to the edge about a third of the way down.
Then draw two lines at the bottom about 6 inches apart and 4 inches long (they will make the mouth of the balloon)
The last 2 lines connect from about half way down the sides to the ends of those lines.
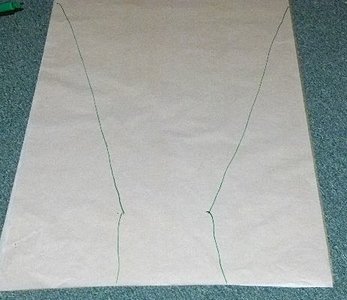
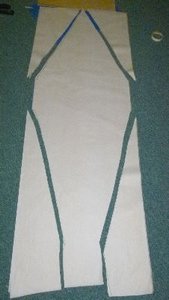
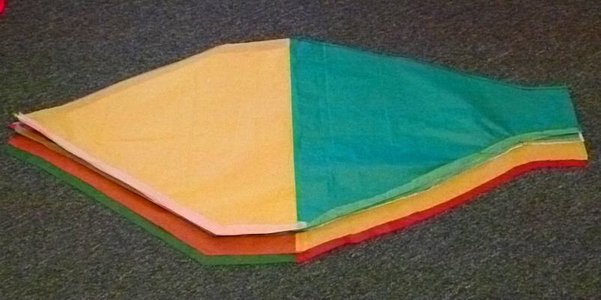
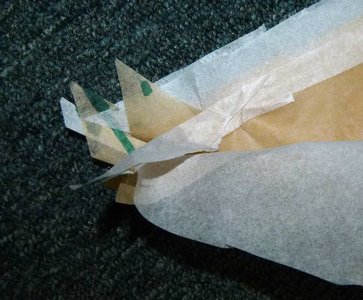
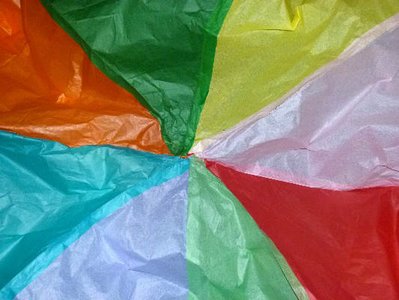
When you have all the lines drawn you will have something that looks like this.

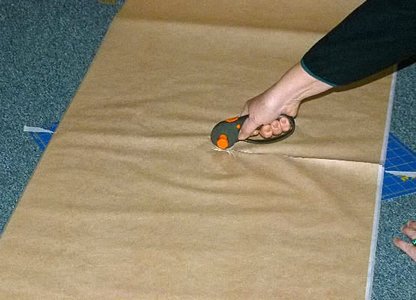
Then cut along the lines, all 8 layers at the same time.
Leaving everything flat on the floor helps a lot with this and following steps.
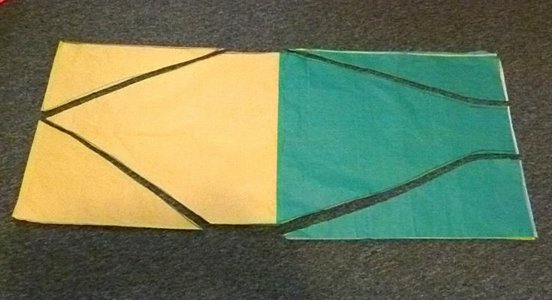
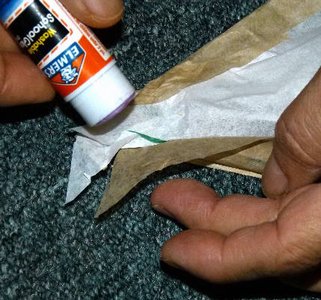
Next join the gores.
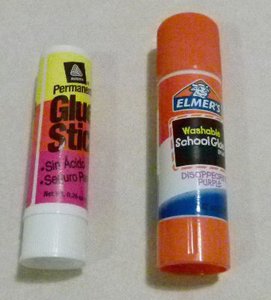
Any glue stick will work.
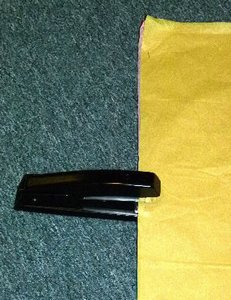
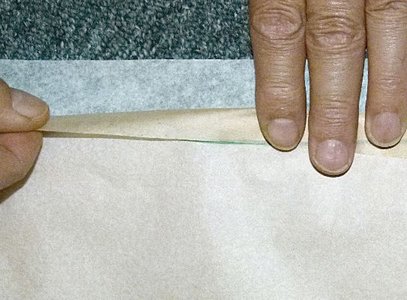
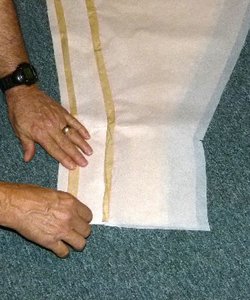
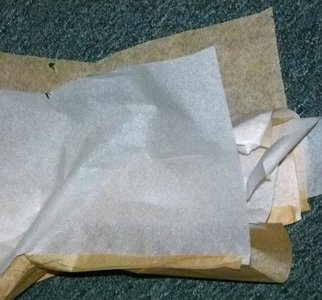
Next we will join the top gore to the second one along one edge (gores 1 and 2).
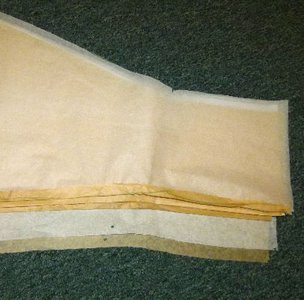
We have found it works well to slide the top layer(white) over about a half inch and then put the glue on the second layer (tan).
It is also best to start joining at the point, because good alignment there will make it easier when we are finishing the balloon.
Fold the tan layer over to make the joint along that edge.
Neatness helps but isn't essential.
Next slide the top pair over a little and repeat for the second (gores 3 and 4).

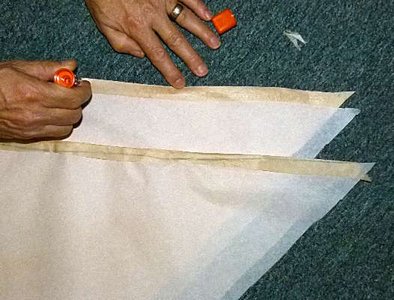
Glue from the tip to the bottom.
Move it aside and join 5 to 6 and then 7 to 8.
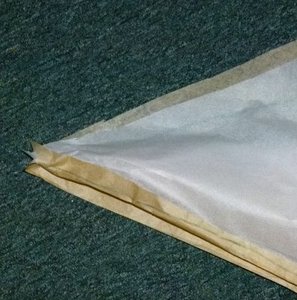
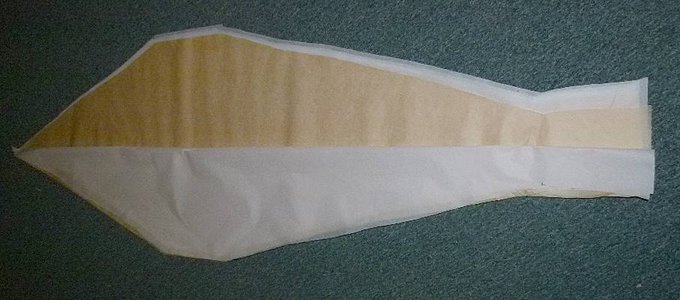
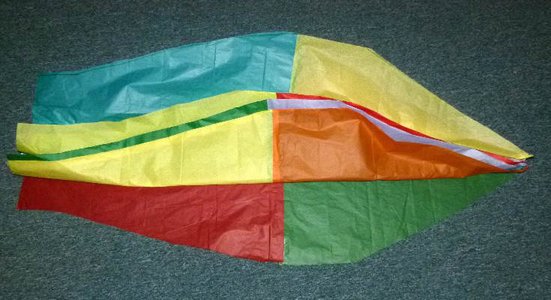
When you finish this step you will have a stack of 4 pairs of gores.
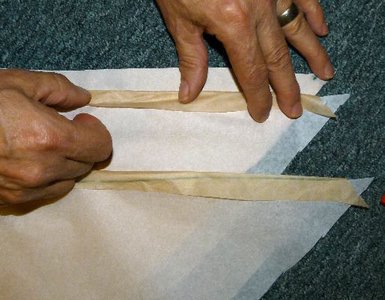
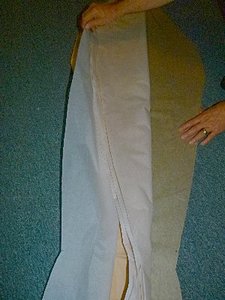
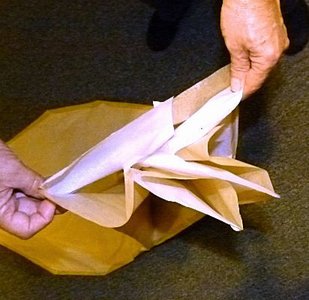
Next we join the other edge.
First fold back the top layer (gore 1) of the top pair.
And starting at the point again, join gore 2 to 3.
Fold that pair back and repeat for 4 and 5 and then 6 and 7.
The points won't be great but any problems can be fixed later.
Now we have gore 1 joined to 2, 2 to 3, 3 to 4, 4 to 5, 5 to 6, 6 to 7, and 7 to 8.
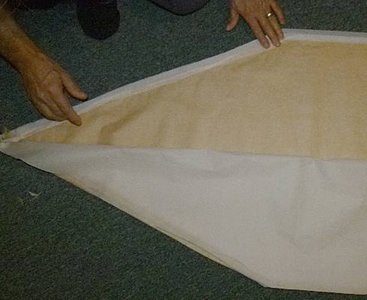
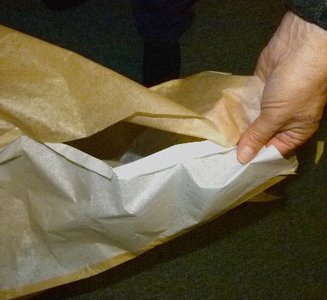
All we need to do to complete the envelope is to join the edge of gore 1 to the edge of gore 8.
To do that lift gore 1 and push everything except gore 8 back out of the way.
line up the 2 free edges and glue them together just like you have done before (you must be getting good at it by now).
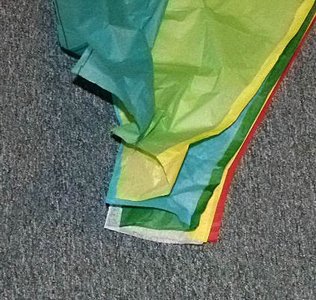
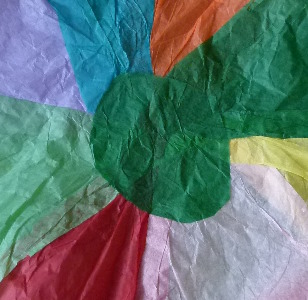
The envelope is complete.
This is a good time to check for any places that the joints need to be re glued.
Fix any big holes, you can ignore little ones if you want.
Holes near the top are more important than ones near the mouth.
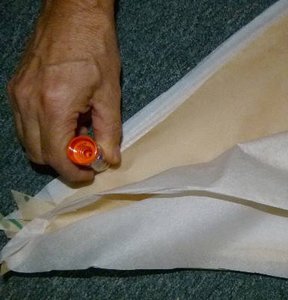
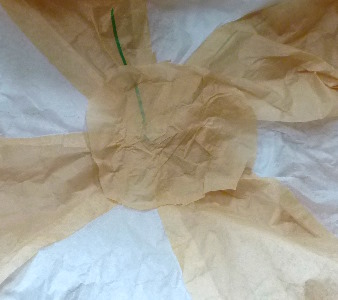
Next we will need to reinforce the mouth.
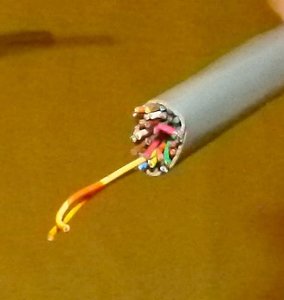
I usually use telephone hook up wire.
I asked the local phone company if they had any scrap 5 feet or so long that they could donate.
The 25 pair interior hook up wire they gave me was perfect.
Other wire will work too. It should be light weight but stiff enough to hold the mouth of the balloon open when you are inflating it.
For your balloon you will need a single strand of the wire.
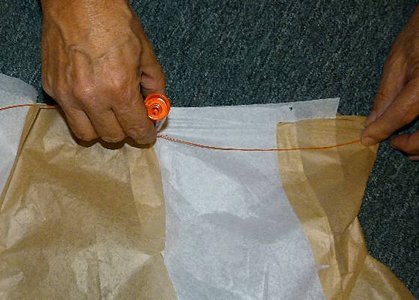
Open the mouth of the balloon and glue along the edge of two or three gores.
Put the wire on the glue and fold the paper over it.
Continue all the way around.
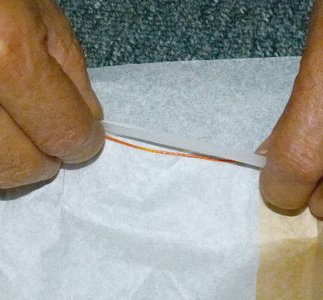
When you get to where you started twist the wires together, cut off any excess and glue the paper over the connection as well.

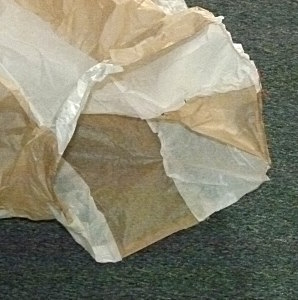
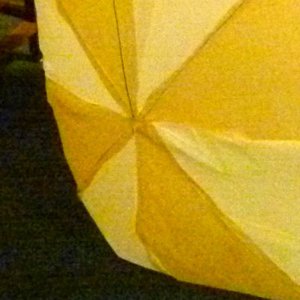
This is what it will look like when you are done.
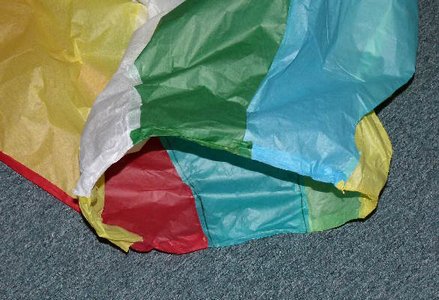
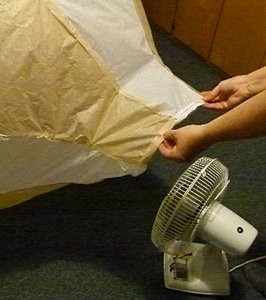
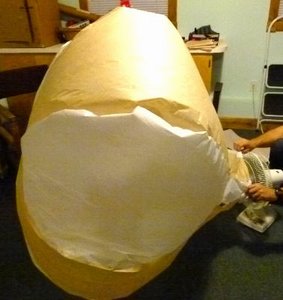
Use a fan to do a trial inflation and look for any holes or seams that will need to be fixed.
The tops just above were good but if the points didn't come together perfectly cut a patch out of some of the scrap and glue it over the hole.
Other holes and rips can be repaired the same way.
Remember the balloon will fly best if it is as light as possible so make the patches as small as will get the job done.
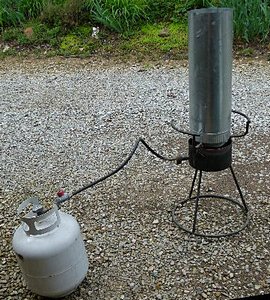
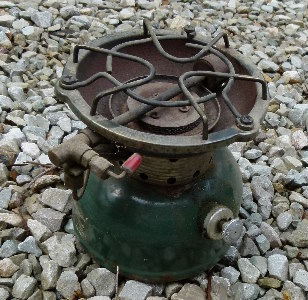
Here is the setup we use to launch balloons.
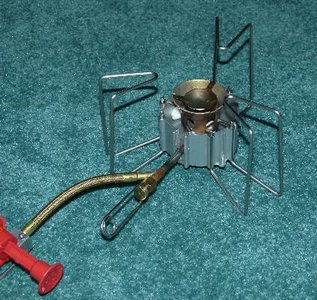
The heat source is a propane outdoor gas cooker (turkey deep fryer).
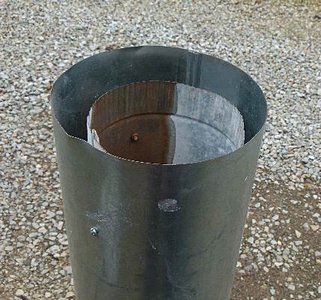
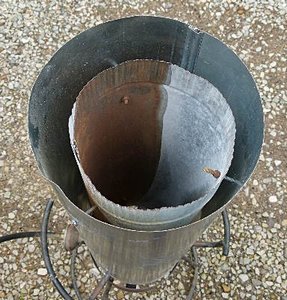
Two sheet metal stove pipes (6 and 8 inch diameter) direct the heat to the balloons.
This arrangement is slightly safer than a single pipe since the outer one won't instantly sear the skin if someone touches it.
It is still hot enough to cause a burn though so please be careful.
A camp stove with no pipes can be used but there is the added problem of directly igniting a balloon.
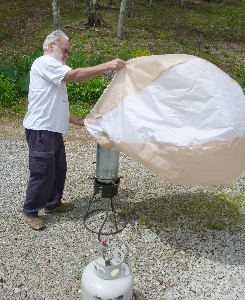
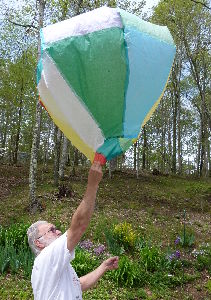
Launch couldn't be simpler.
Light the burner, hold the mouth of the balloon over the top, wait for it to start to pull, and then release.
Any wind will make this operation less than simple though.
You may need a helper or two to keep the balloon from catching fire from exposure to direct heat/flame.
If one does catch fire just keep everyone out of the way and listen to the crowd cheer (they always do).
Too much heat will ignite the balloons even if they don't contact actual fire.
They will usually give a little warning by turning brown and starting to smoke before they burst into flame.
Just starting the inflation.
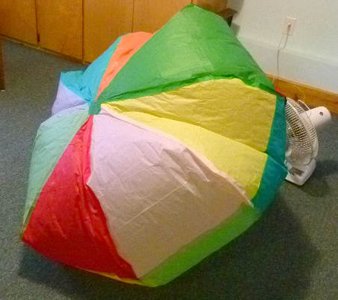
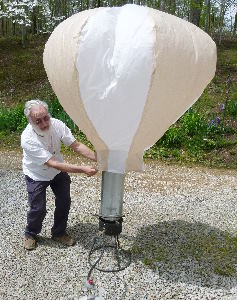
Nearly ready to launch.
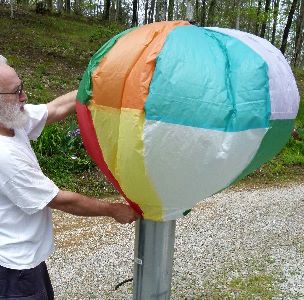
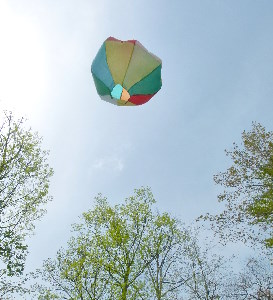
And away.
A kite string can be attached to the bottom of the balloons to make it easier to recover them.
The weight of the string means that they won't fly as high but you will be able to send them aloft again.
Of course if you don't launch in an open field you will probably end up with you balloon hanging in a tree.

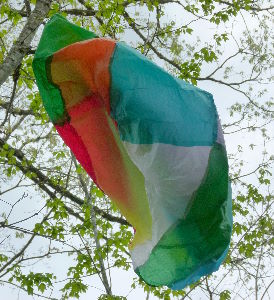
If you are very lucky a shift in the breeze will free it and it will flutter down and you will get to fly it again.

We have used balloons to lift baskets carrying stand-ins for the passengers of the first balloon flight.

Here are links to pages that show a few of our groups that have built and flown their own balloons.
The pages show building and/or flying and some show other things we did with the group.
Girls in Research
Pikeville 2000
Pikeville 2004 week 1 and week 2
Pikeville 2008 week 1 and week 2
Kids College 2009
Elliott Science Fun 2010
When some of these balloons were flown free they went out of sight.
We took some measurements and found that one was more than 1000 feet up and 2 miles away when we last saw it.
If you have the inclination and mathematical skills you can improve on the balloon shape.
You will need to figure out how wide the gores should be at each distance from the top.
The right gore shape will have smoothly curving sides from the point to the mouth.
The shape when inflated will have a nearly spherical top and the lower portion will be roughly conical.
I will include more about how to do the computations when I update this page.
Have fun and be safe.
